
Axunworks JJ-CBOX (JAMMA / JVS) Supergun / Control Box

We're lucky to have units landed, on hand and ready to ship!
Highly coveted and professional quality JVS & JAMMA control box from Axunworks from China.
We've decided to offer the units on our site for sale, fully kitted out with the most wanted options that we also highly recommend.
This unit comes complete with the following 7 items:
1. JJ-CBOX (Black PCB Version)
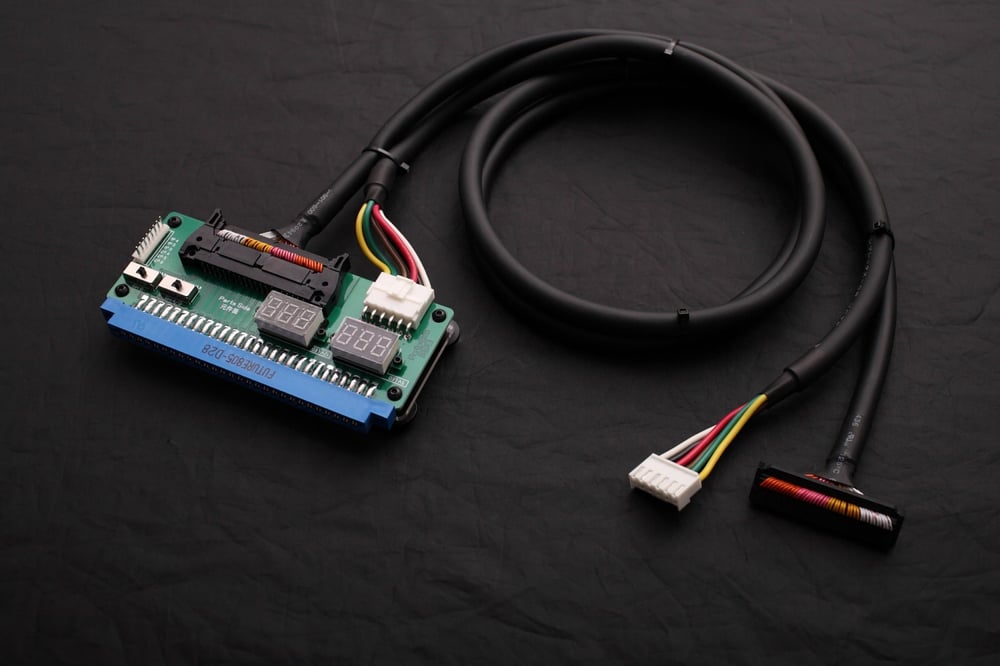
2. Jamma Extension Cable (Taiwan Future)
3. SCART Cable (DIN8P to EU SCART)
4. VDE Power Adapter (Standard PC "kettle" power cable not included)
5. CPS2 Kick Harness
6. JVS Power Cable
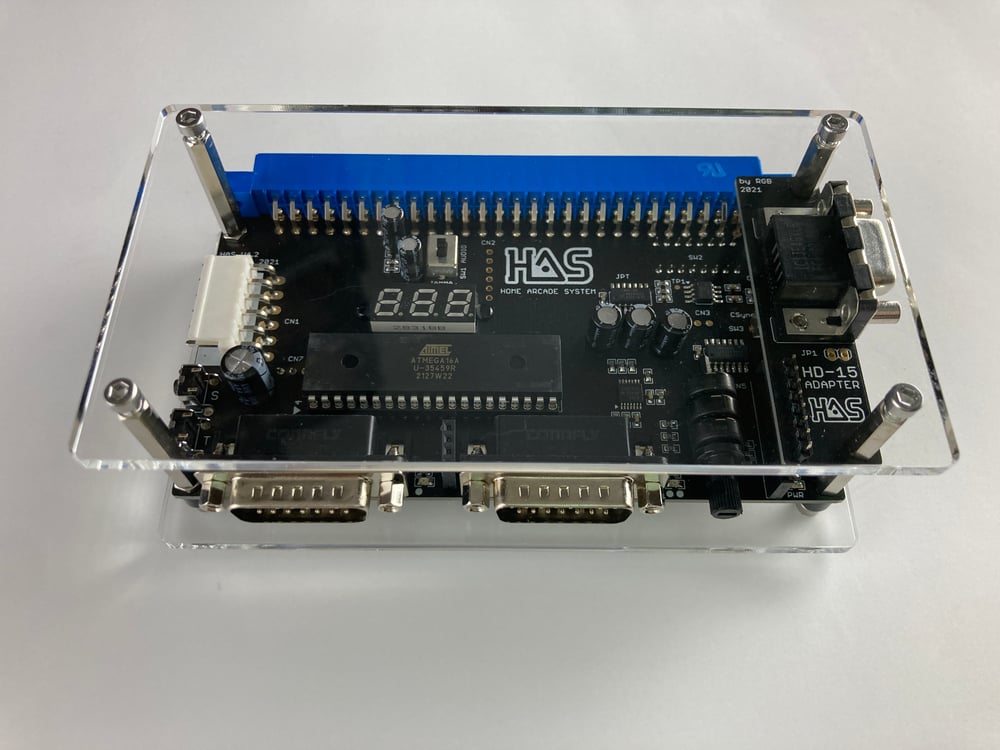
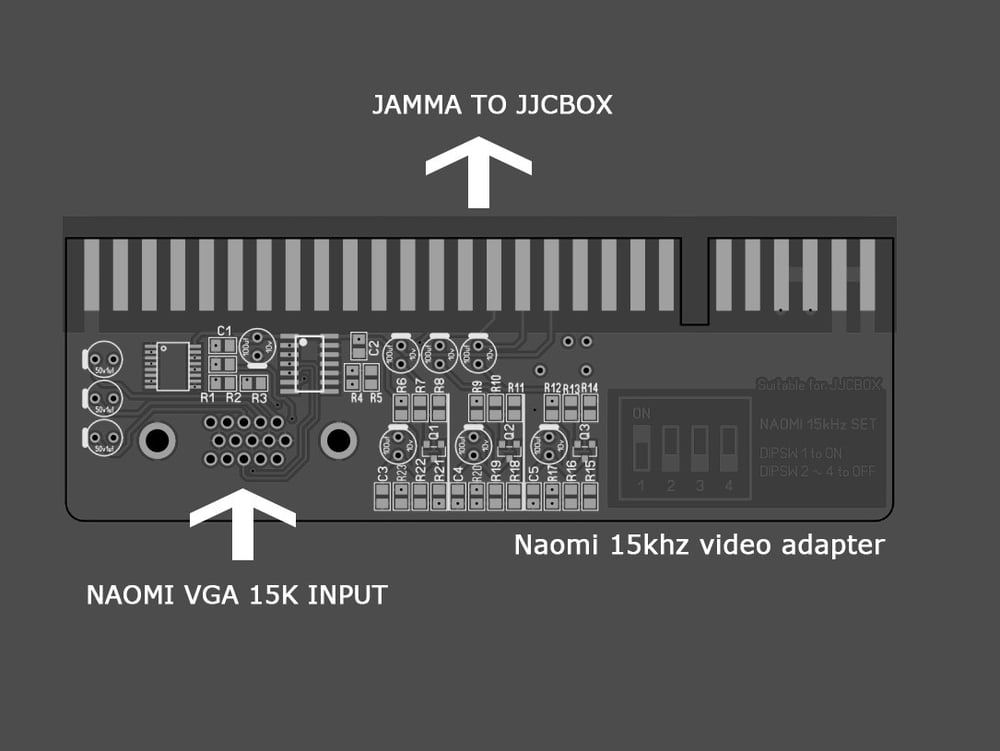
7. Naomi 15KHz Video Adapter PCB
The Axunworks JJ-CBOX is a fully featured AIO Supergun unit with the following features:
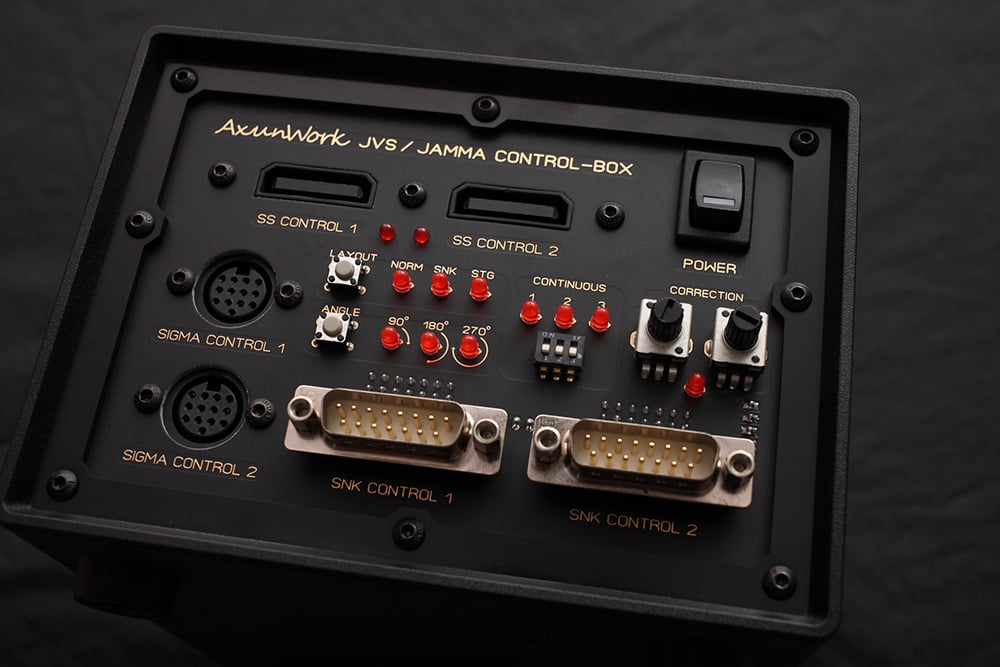
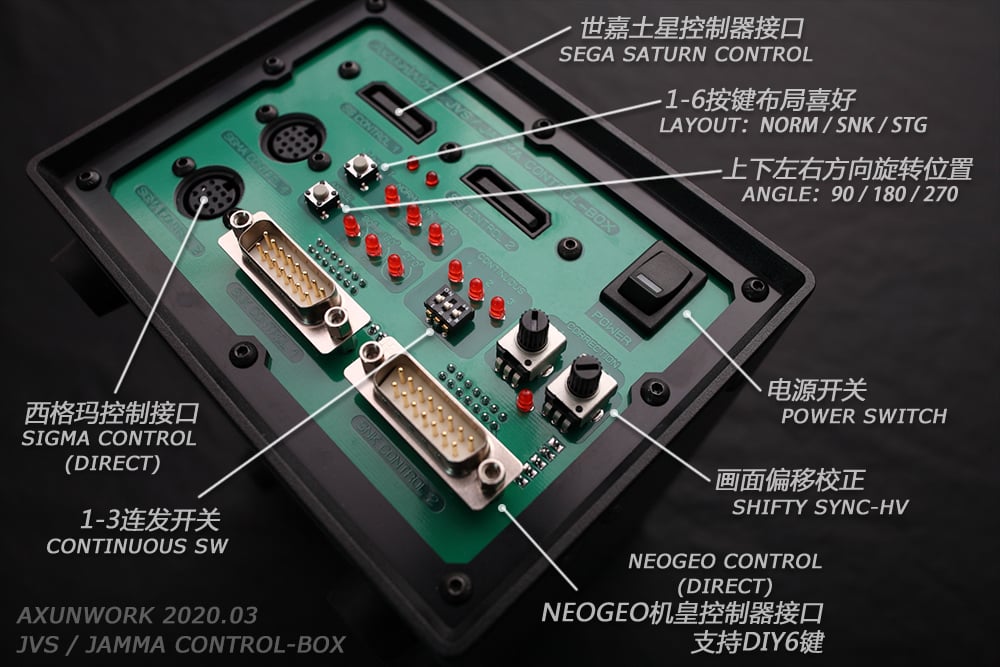
Controller Inputs:
2 x Sega Saturn
2 x Sigma
2 x DB15 Neo-Geo (support 6 buttons)
VIDEO/AUDIO OUTPUTS:
DB15 pin interface is 15kHz and a direct output of the RGBS signal of JAMMA.
The 8P interface is the same as the RGB interface of NEOGEO, but it supports stereo. 8pin to EU-SCART (RGB)
RGB impedance can be set in 4 modes: pass-through, 75 ohm, 150 ohm, 75 + 150 ohm (now it has been changed to 0-500 ohm linear adjustment)
Stereo RCA Output (Recommended to set it in mono, because most types of JAMMA PCB are mono, in mono mode, the red and white RCA output ports also have sound.)
CORRECTION POTS:
The Correction knob adjusts the phase delay of the synchronization signal.
It moves the image up and down or left and right to center the image.
POWER:
AC INPUT: 100-240v
ADJUSTABLE 5v and 3.3v for picky JAMMA boards
JVS CONTROL and POWER:
The JVS-USB interface is used to control the JVS host. It can control JVS hosts such as (TESTED) SEGA NAOMI 1, SEGA NAOMI 2, RINGEDGE 1, RINGEDGE 2, Namco 246/256, Taito Type X1 , Taito Type X2, etc.
12-hole JVS power output, including negative 5V, 3.3V, 5V, 12V (CBOX can power Naomi 1/2, Namco 246/256 with custom harness)
6 BUTTON CONTROL JVS/JAMMA:
JVS 6 button is built in.
The external 456 or KICK HARNESS is used to connect some 6-key games such as STV, CPS1, CPS2, CPS3 and so on. (KICK HARNESS wiring is required.)
Kick harness switch for quick Enable/Disable
Customization 6 button mapping (Refer to CUSTOM MAPPING SECTION)
CONTROLLER CONFIG:
USING the LAYOUT BUTTON:
NORM = is standard CAPCOM 6 button
SNK = is standard SNK layout
STG = is standard SHUMPS(Shooting Game) Mode (The above three buttons can be set continuously. But the following three buttons cannot be continuous.
Because some shooting games need to hold down to store energy.)
USING the ANGLE BUTTON:
NORM = Standard (Clockwise) Up , Right, Down, Left
90°
180°
270°
(This is helpful for games that rotate screen but you cannot rotate your screen)
CUSTOM MAPPING:
HOLD the LAYOUT BUTTON for 3 seconds.
All six lights will be on, this is entering CUSTOM MODE
At this time you need to press the buttons 1-6 to your desired layout.
Press the LAYOUT BUTTON again to to exit CUSTOM MODE.
IF you want to set Player 2(2P), you also need to complere the button setting 1-6 during the CUSTOM MODE.
CONTINUOS SWITCHES aka (RAPID FIRE)
Flip switch 1 for RAPID FIRE on Button 1
Flip switch 2 for RAPID FIRE on Button 2
Flip switch 3 for RAPID FIRE on Button 3